You can now group tabs in Google Chrome
Google is working on a solution to help organise all your opened tabs

You can do a lot of things by adding extensions to you favourite browser. PHOTO: AFP
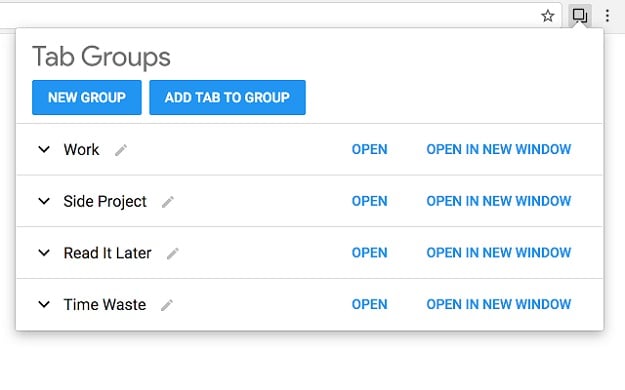
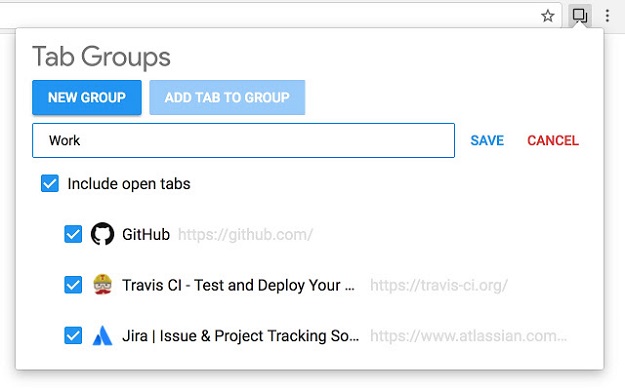
The “Tab Groups” feature provides users with well-ordered, color-coded labeling for all their tabs and it is available today behind a flag.
You can use the experimental flag to enable the feature if it is not automatically supported by your Chrome browser.
To check if Tab Groups are already enabled in Chrome, right-click a browser tab and look for the “Add to new group” option. If you see it, Tab Groups are enabled and you do not have to activate the flag.
How to Enable Tab Groups in Chrome
To enable Tab Groups, open a new Chrome browser tab, type the following into its address bar and then press the Enter key:
chrome://flags
In the search bar at the top of the page, type “Tab Groups” and select “Enabled” from the dropdown menu next to the flag.
Click the “Relaunch Now” tab to restart Chrome and apply the experimental flag that’s been enabled.
Facebook takes on Amazon with new shopping feature
Make sure to save work that is opened on tabs because although Chrome will reopen any tabs you had open, text typed into fields on the pages may disappear.
How to Use Tab Groups in Chrome
To use the tab grouping feature, you’ll need to open a few tabs to use it to its full extent.
Start by opening a few web pages to start grouping your tabs then proceed to right-click on a tab and select “Add To New Group” from the context menu.
 PHOTO: Chrome
You will see a colored circle appear next to the tab, and when you click either the tab or the circle, the tab group menu will show.
Now name the group, change the color-coding, add a New Tab into the group, ungroup all tabs in the group, or close all the tabs that are in the group.
There are eight colors available to choose from so you can easily differentiate between groups, if you wish to add a New Tab page inside an existing group, click “New Tab In Group,” and it will appear alongside anything already in the group.
 PHOTO: Chrome
New Instagram effects move to music
To add tabs to an already existing group, right-click a tab, click “Add To Existing Group,” and then choose the group you want to add it to.
If you no longer want a specific tab in a group, tap and select “Remove from group.”
You can easily ungroup anything just as quickly as you created it by clicking on the group name and then pressing “Ungroup.”
Click the designated group name and then click “Close Group” in the menu once you are done with the group.
This article was originally published on How-To Geek.


COMMENTS
Comments are moderated and generally will be posted if they are on-topic and not abusive.
For more information, please see our Comments FAQ